 Things
You’ll Need
Things
You’ll Need
Ø Cylindrical plastic bottle, preferably one with a
fluted shape at the base.
Ø Craft, gardening or kitchen scissors
Ø Beach glass marbles or decorative stones
Steps:
 |
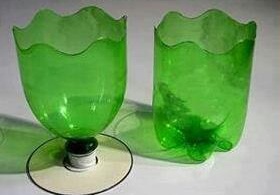
Mark and cut the smooth middle
portion of the bottle to give an even edge approx 7.
|

 |
Measure and make straight, evenly
spaced cuts all the way around the bottle.
|


2. Measure and make straight, evenly
spaced cuts all the way around the bottle. Cut the segments in half and then
cut each of those in half to make even, thin strips.

3. Carefully press and fold all the
strips outward to make a level edge all the way around.


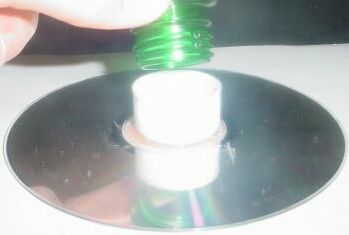
4.Press the bottle upside down on a
flat surface to ensure an even edge.


5.Weave the tip of a strip over the
next one and under the next two. Fold and crease it so that the tip is at the
place shown here by the arrow.

6. Fold and crease the next one the
same way, but weave this one over two and under one.


7. Fold the third strip and weave the
same as the first one.


8. Continue around in this pattern
until the last three and tuck each one under the next until woven in completely.

Tips:
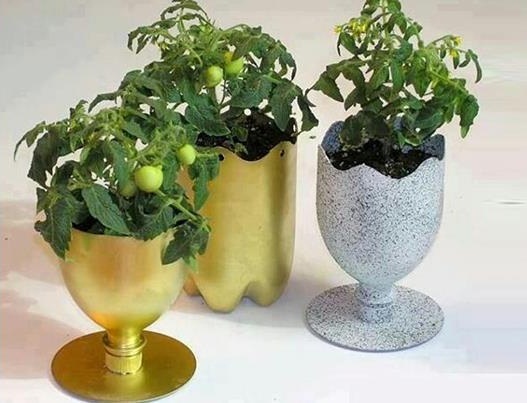
Ø Because the plastic will be very lightweight, add
marbles, beach glass, or decorative stones in the vase to provide a weighted
base.
Ø When you add the marbles and stones and allow the
light to shine through your vase, it will produce beautiful, stained glass-like
colours.
Ø Heating the bottle can ensure your folds do not come
apart.
Ø Be sure to maintain the regularity of the creases.
Now you can put your flowers inside! =)


